Managing Widgets
This guide covers the full widget lifecycle on the Hyvä Commerce Admin Dashboard: adding, editing, repositioning and resizing, and deleting widgets.
Adding Widgets
The initial Hyvä Commerce admin dashboard view is a blank canvas that invites you to begin adding widgets:
-
Click the
Add Widgetbutton. It's available at the bottom of an empty dashboard, and permanently in the top right corner of the page.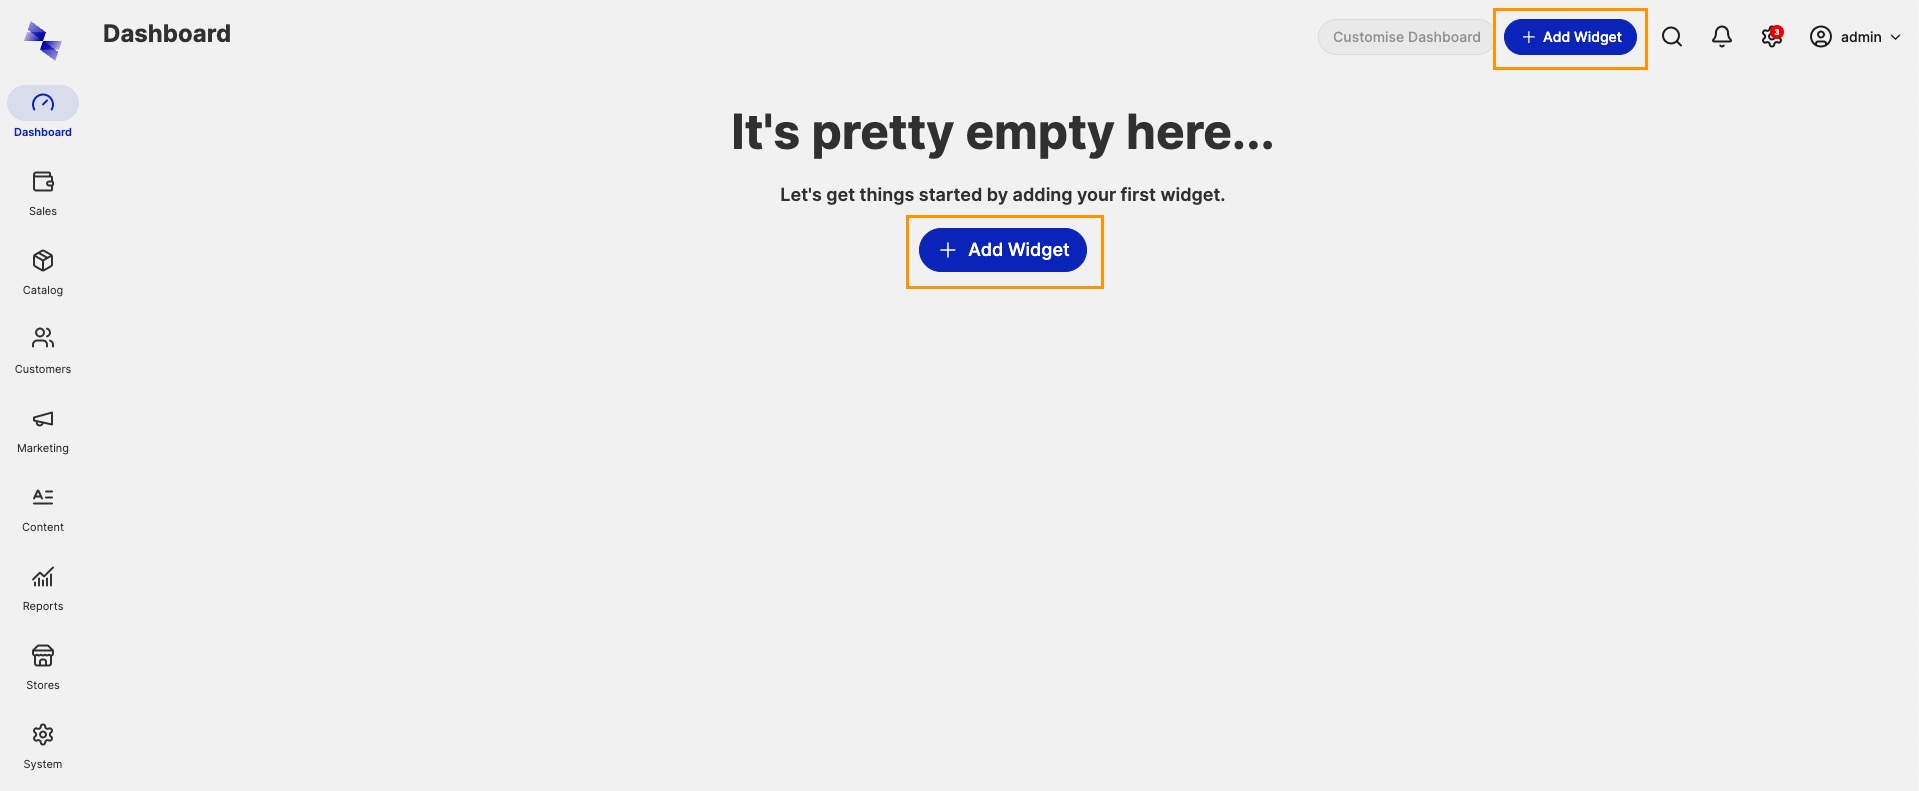
-
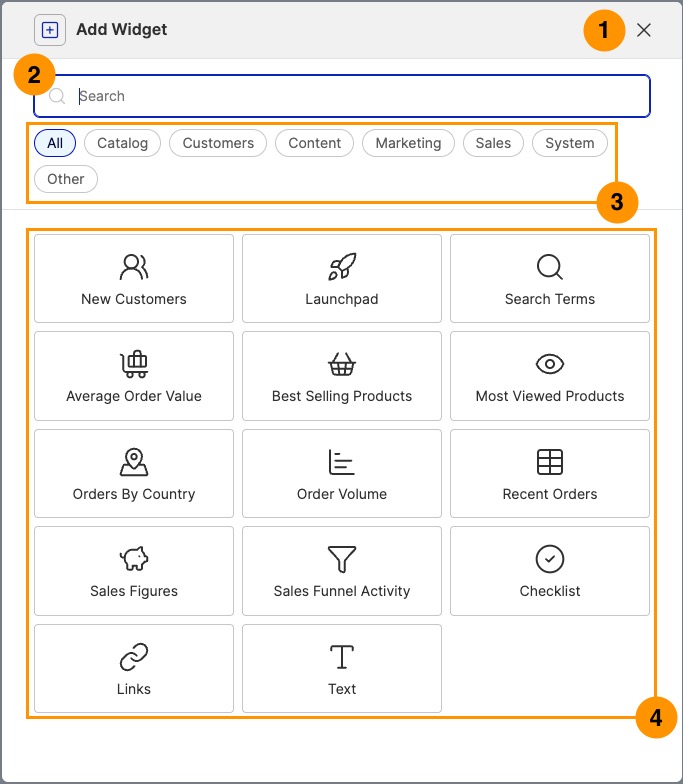
Select a widget type from the modal that appears. It contains a search, category filters, and a button per widget type.
-
Complete the widget's configuration and click
Saveto add it to your dashboard.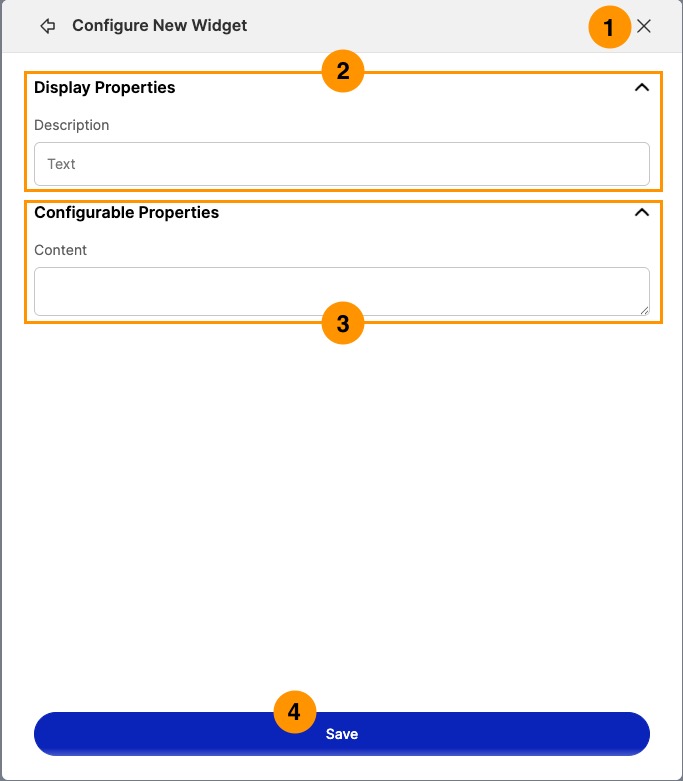
Widgets aren't set in stone once created; see Editing Widgets below.
Widget Search
A search feature helps find specific widgets or widgets for certain topics. As you type, the content beneath updates in real time. By default, widgets match the search term when:
- Its name contains the search term
- Its category contains the search term
- Any of its tags contain the search term
Widget Tags
Widget providers may choose to "tag" their widgets with a set of terms or topics to provide an additional layer of categorization. See the Widget XML Configuration developer reference.
Widget Category Filters
Widgets can be categorized. The widget selection modal displays each category as a button which, when clicked, filters the list of widgets to show only those belonging to that category.
Uncategorized widgets are grouped together into a separate category, named Other by default (this may differ in your instance). See the Widget XML Configuration developer reference for more on widget categories.
Widget Type Buttons
Each button relates to a specific widget type; clicking one lets you configure a widget of that type. See Widget Types for the full list of widgets available in Hyvä Commerce.
Not all widgets are available to all admin user accounts: some may require a specific role or resource access before an admin can create, update, edit, or view widgets of that type. See the Magento documentation on user roles and permissions for more.
Widget Configuration Form
The widget configuration form typically has:
- Display Property Configuration: options that control how the widget appears (click the
Display Propertiesheading to collapse or expand this section) - Configurable Property Configuration: options that control what data the widget pulls in (click the
Configurable Propertiesheading to collapse or expand this section)
Each widget type has a different set of options; work through them and specify your desired configuration, then click Save.
Editing Widgets
Once a widget has been created and added to a dashboard, you can edit its configuration at any time:
-
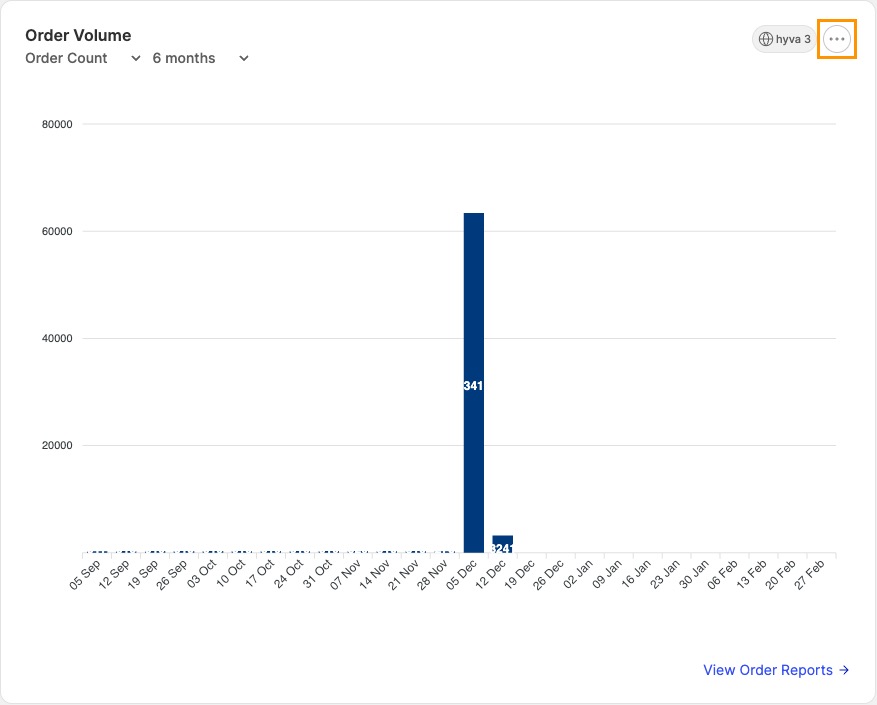
Open the widget's action menu by clicking the ellipsis in its top-right corner.
-
Select the
Editoption.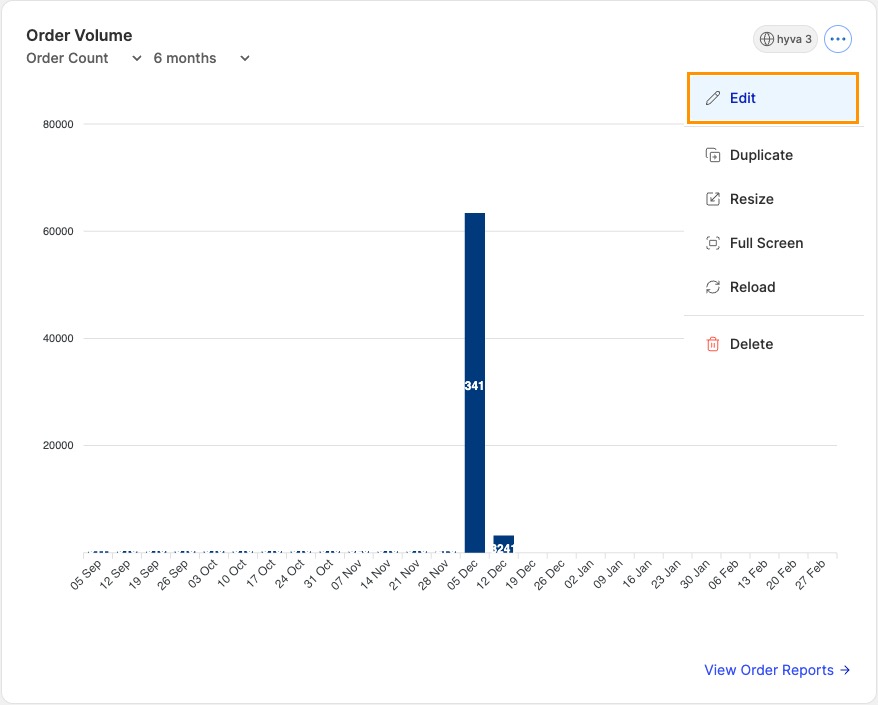
-
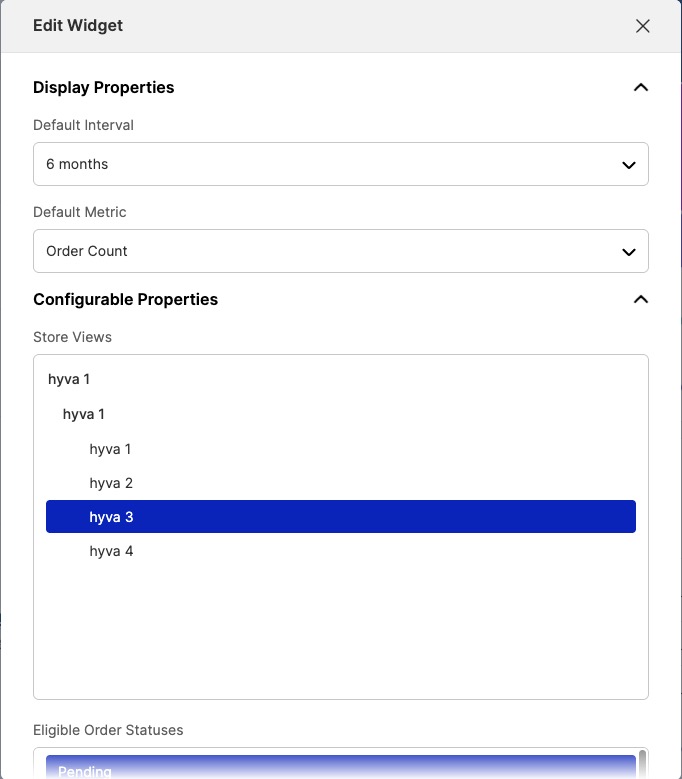
Update any of the configuration options for the widget.
-
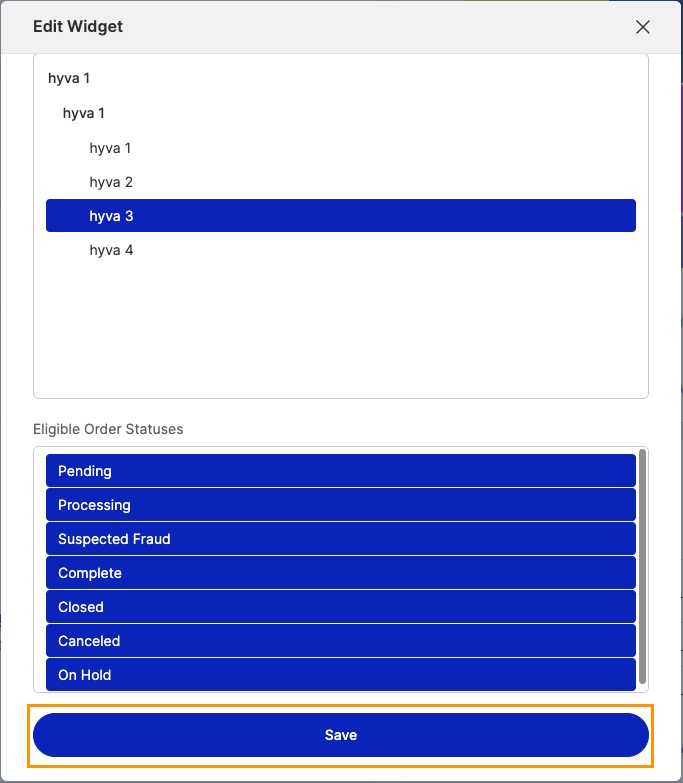
Save the widget.
Repositioning & Resizing Widgets
Admin users can control the positioning and sizing of widgets in their dashboard:
-
Enable
Edit Modeby clicking theCustomize Dashboardbutton in the upper-right corner of the dashboard, or selectingResizefrom any widget's action menu.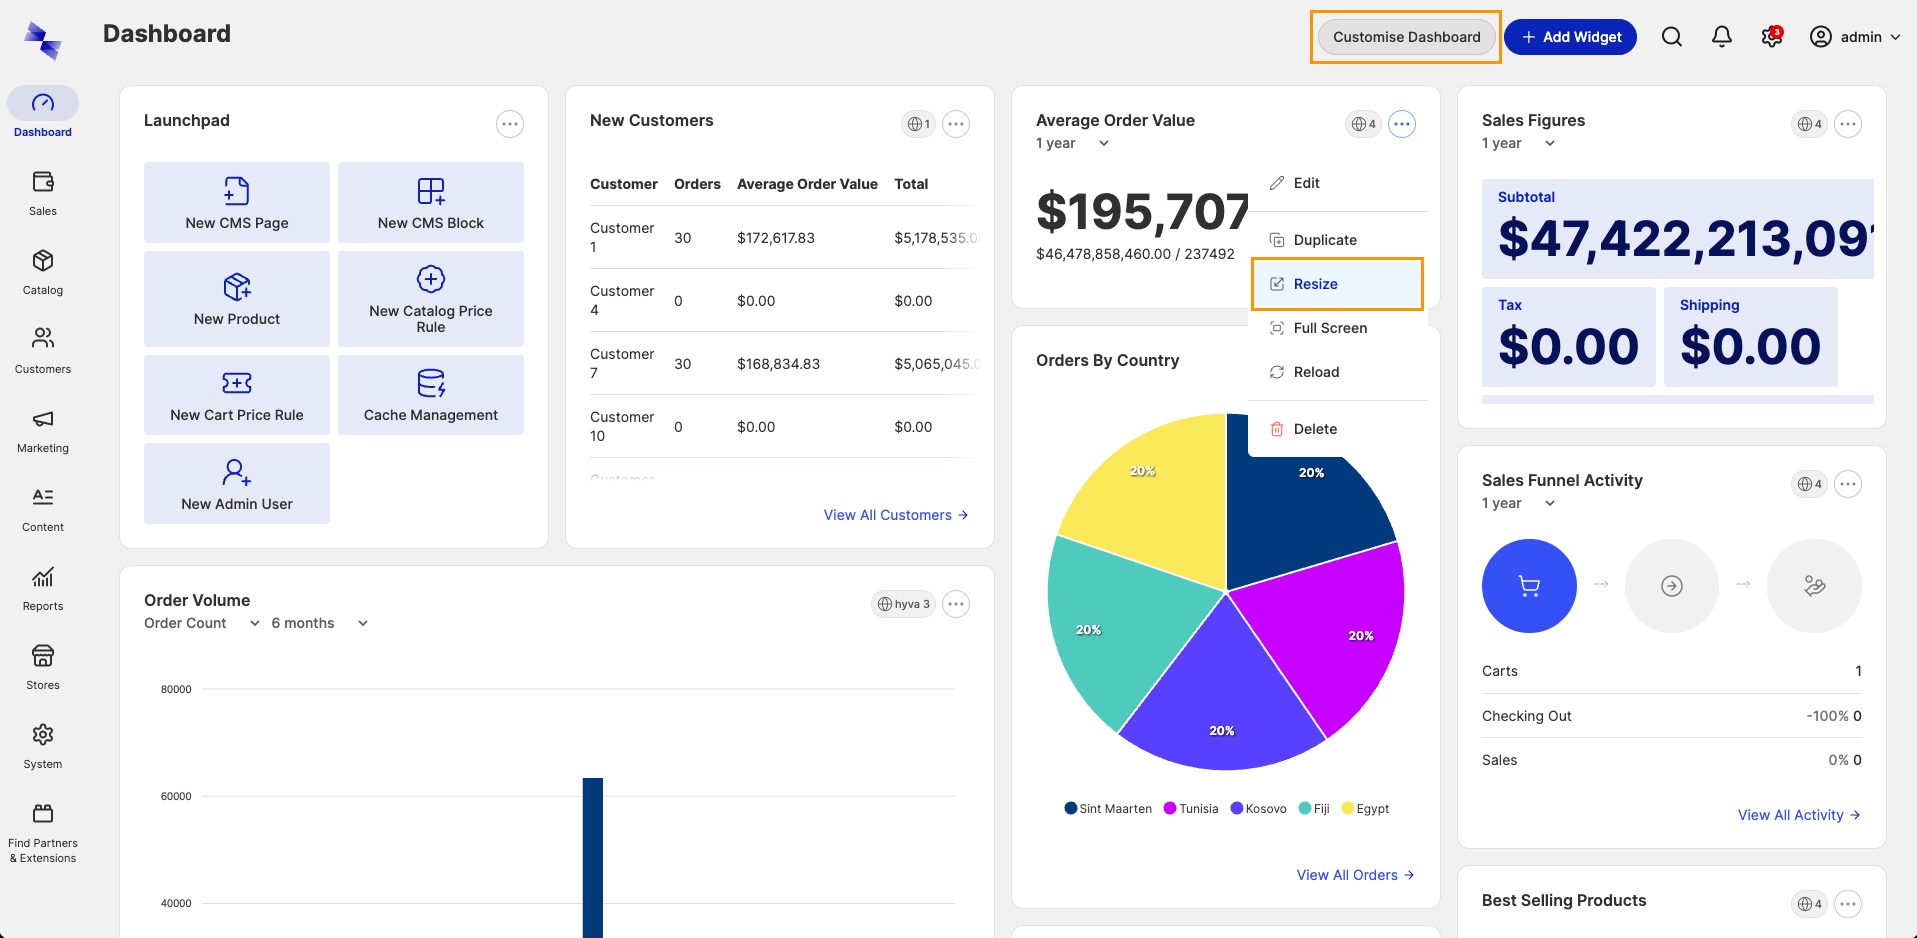
-
With
Edit Modeenabled, the dashboard adopts a slightly different appearance to signify the change. Widgets cannot be interacted with during editing, but edit controls such as repositioning, resizing, and deletion remain available.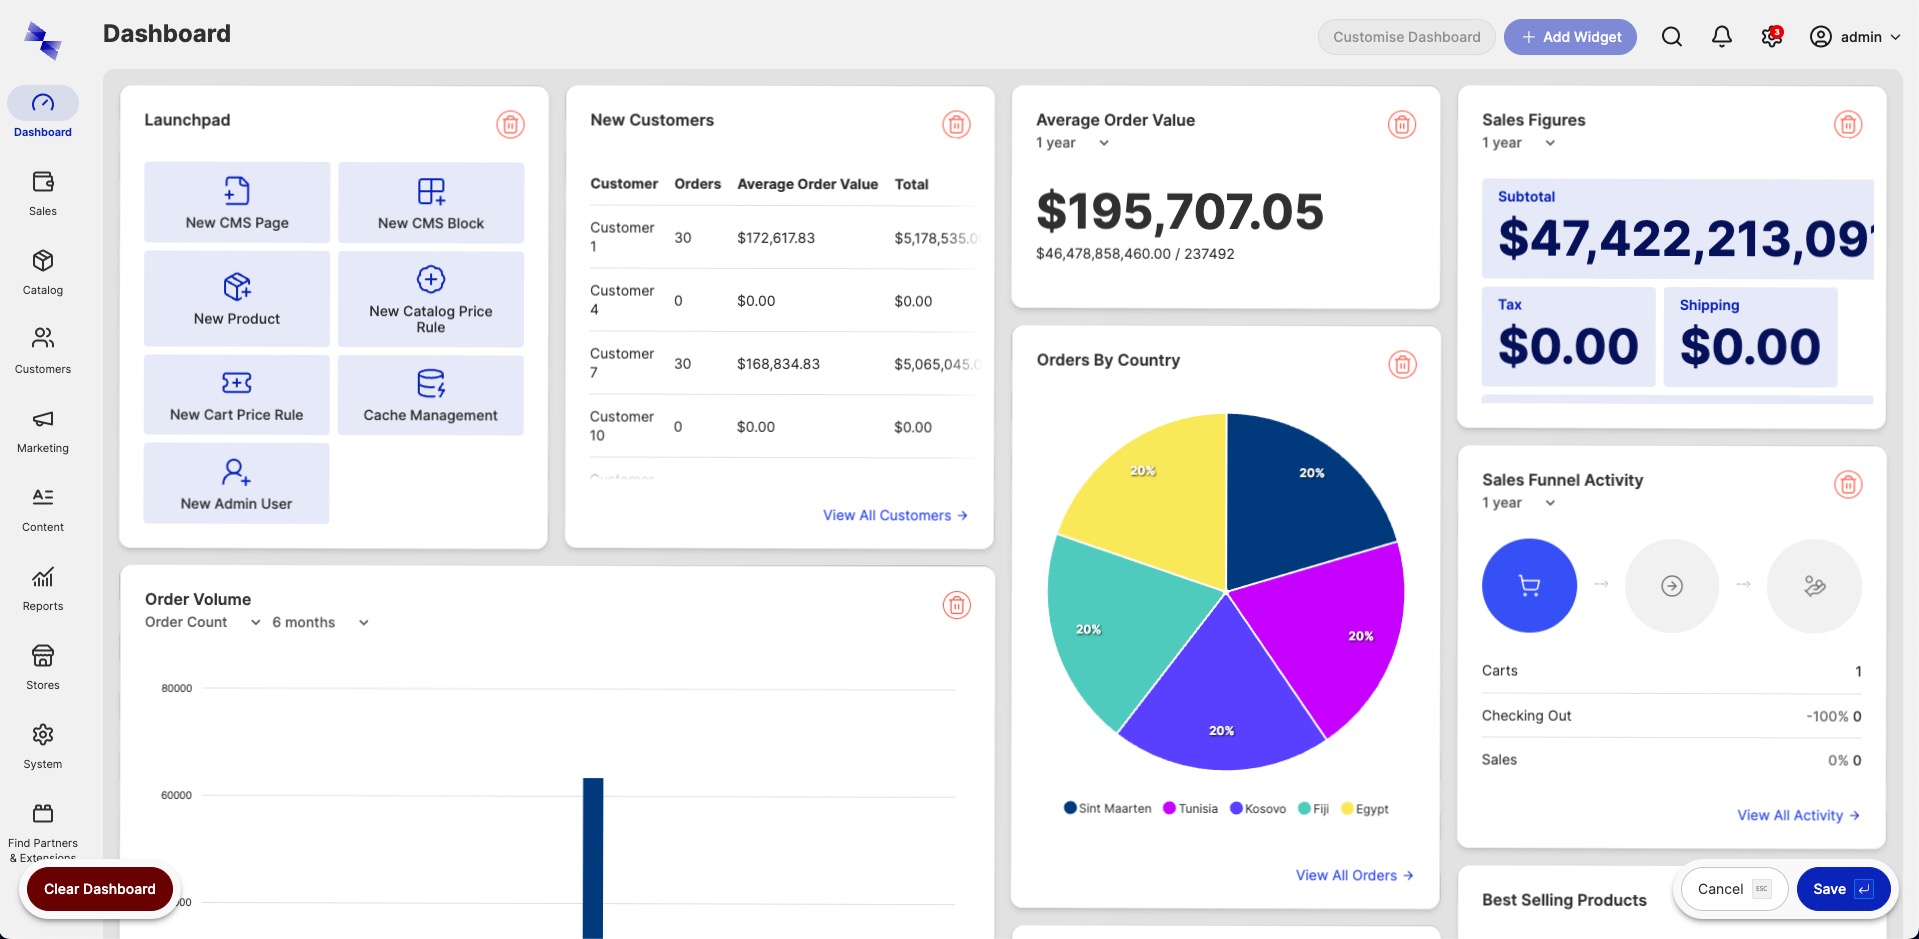
-
Click the
Savebutton in the bottom right corner of the screen once you're happy with the changes.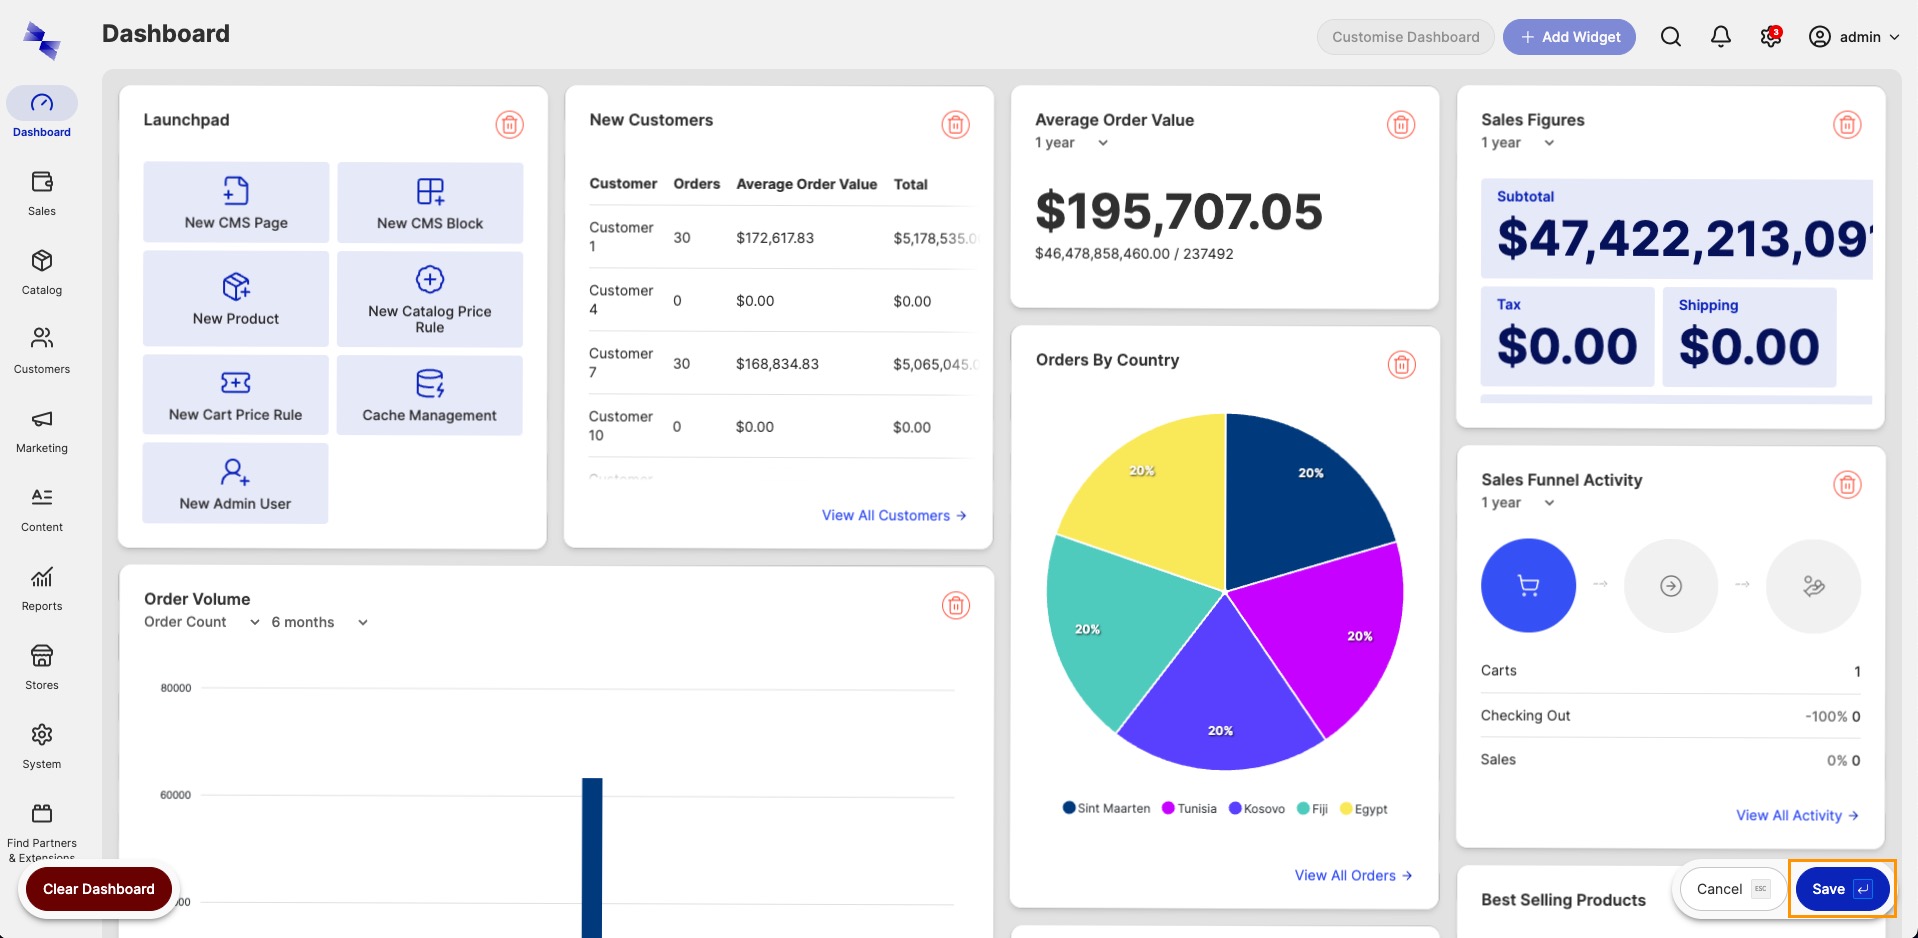
Revert Dashboard Changes
Click
Cancelinstead ofSaveto restore the dashboard to its previously stable state, undoing any pending size and positional changes.
Positioning
Move a widget by locating it, clicking and holding somewhere within it, then dragging and dropping it into its new position.
Sizing
Resize a widget by hovering over it, clicking and holding a corner, then dragging and dropping until it occupies the desired space.
Widget Sizing
Widget providers may dictate their widget(s) must maintain a minimum width or height, preventing admin users from decreasing dimensions below those points. See the Widget XML Configuration developer reference.
Deleting Widgets
You can remove widgets individually, in groups, or all at once.
Removing Individual Widgets
Delete a single widget straight from its own action menu, without entering edit mode:
-
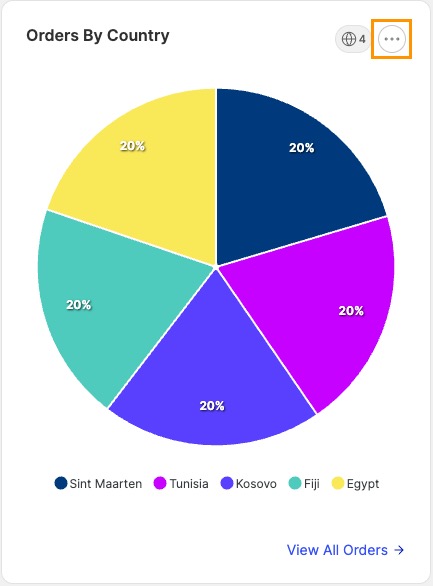
Open the widget's action menu by clicking the ellipsis in its top-right corner.
-
Select the
Deleteoption.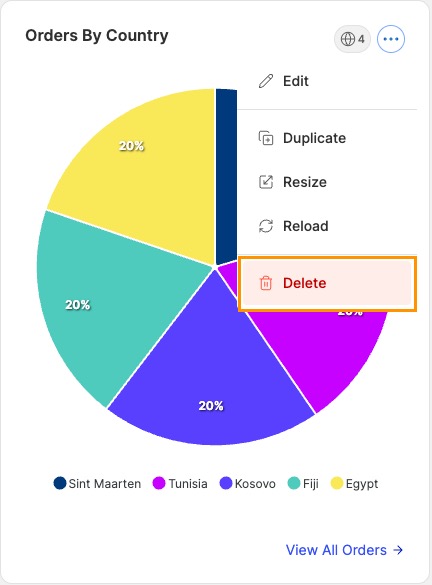
-
Confirm the deletion in the modal that appears.
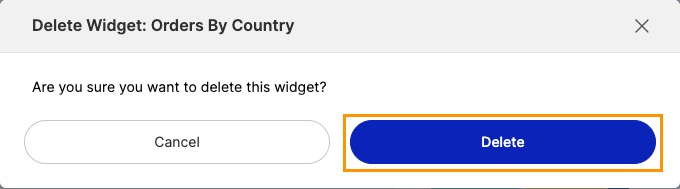
Removing Multiple Widgets
To delete several widgets at once, use the dashboard's Edit Mode:
-
Enable
Edit Mode(see Repositioning & Resizing Widgets above). -
Use the delete button on each widget you want to remove.
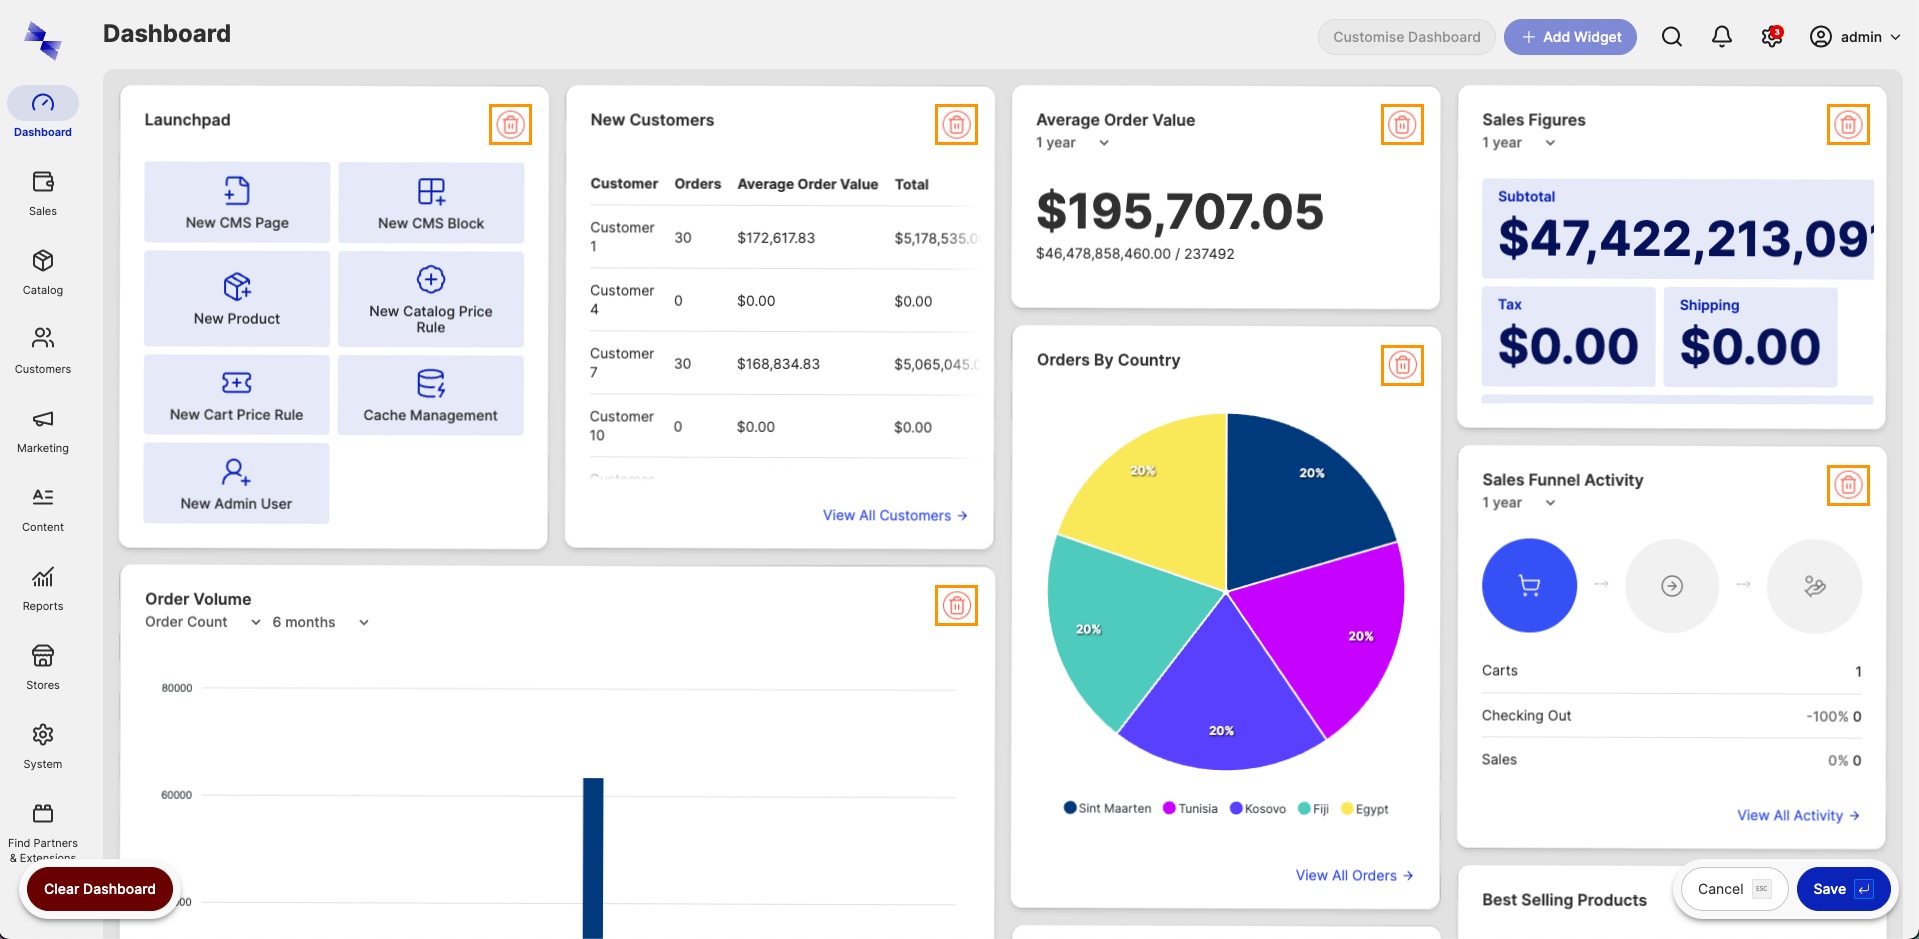
-
Click
Save(or pressEnter) to persist the changes.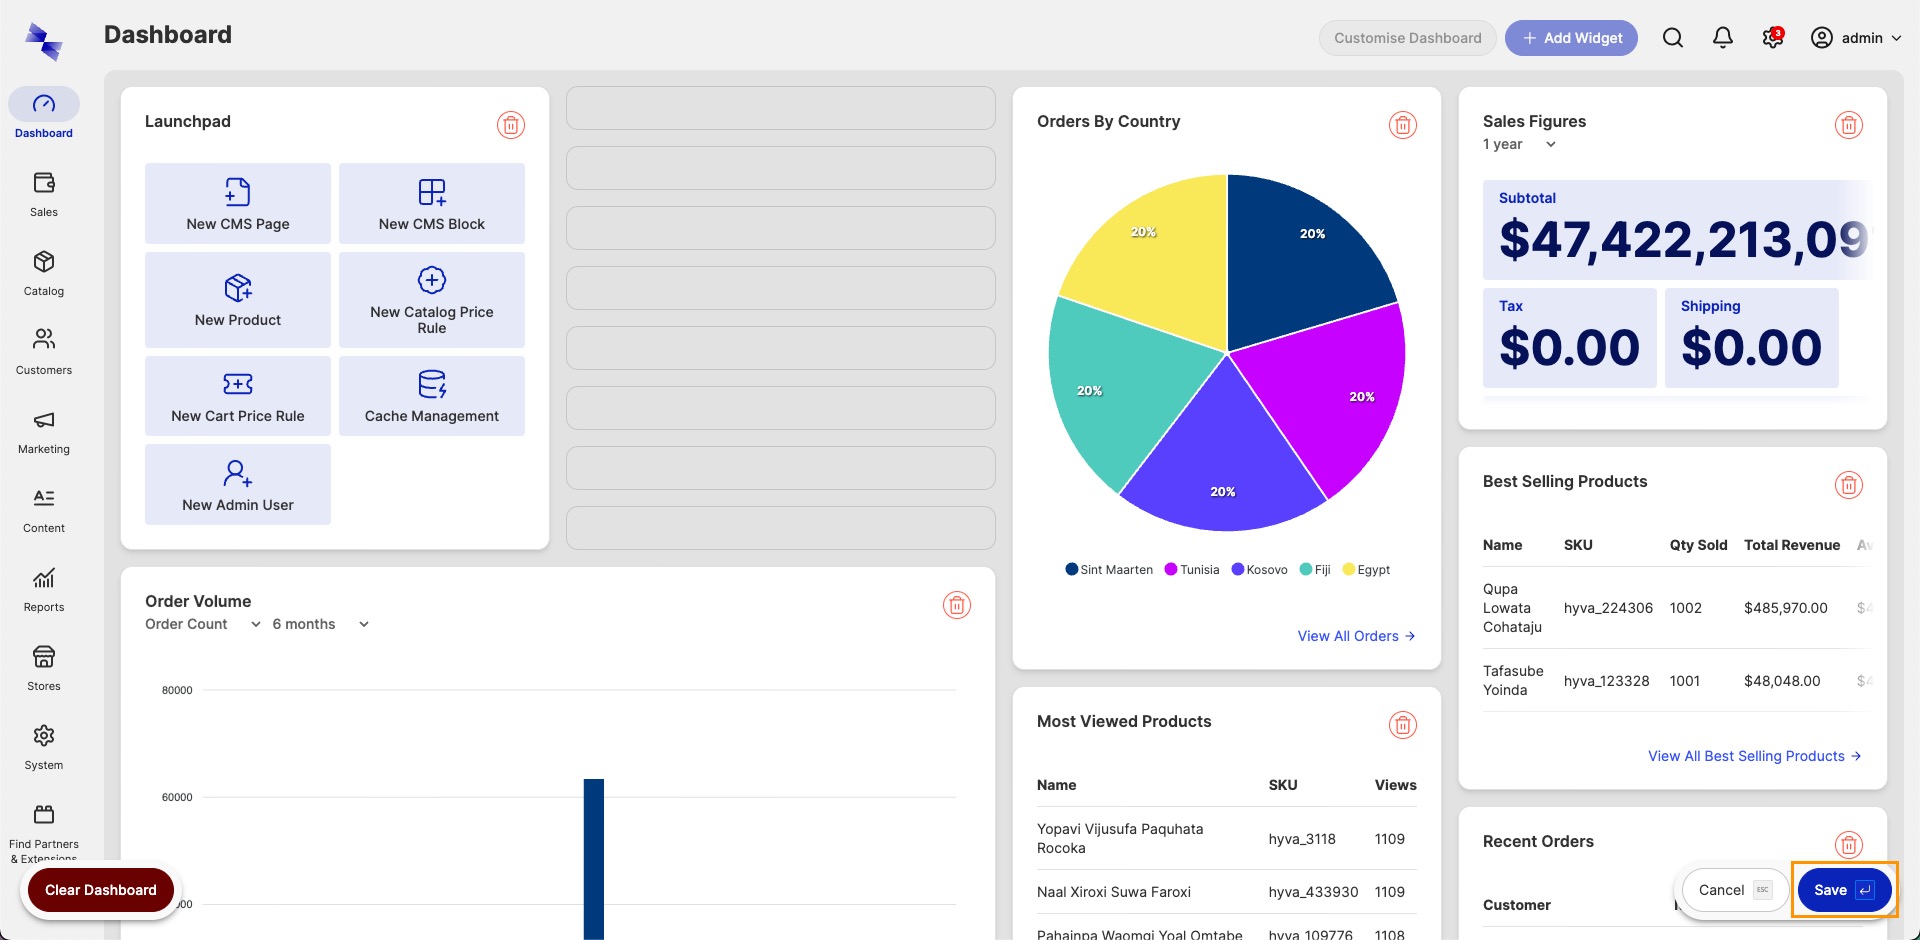
Tip
Use
Cancel(or pressEscape) to discard your changes.
Clearing the Dashboard
To remove every widget in one action, use Clear Dashboard from within Edit Mode:
-
Enable
Edit Mode(see Repositioning & Resizing Widgets above). -
Click the
Clear Dashboardbutton.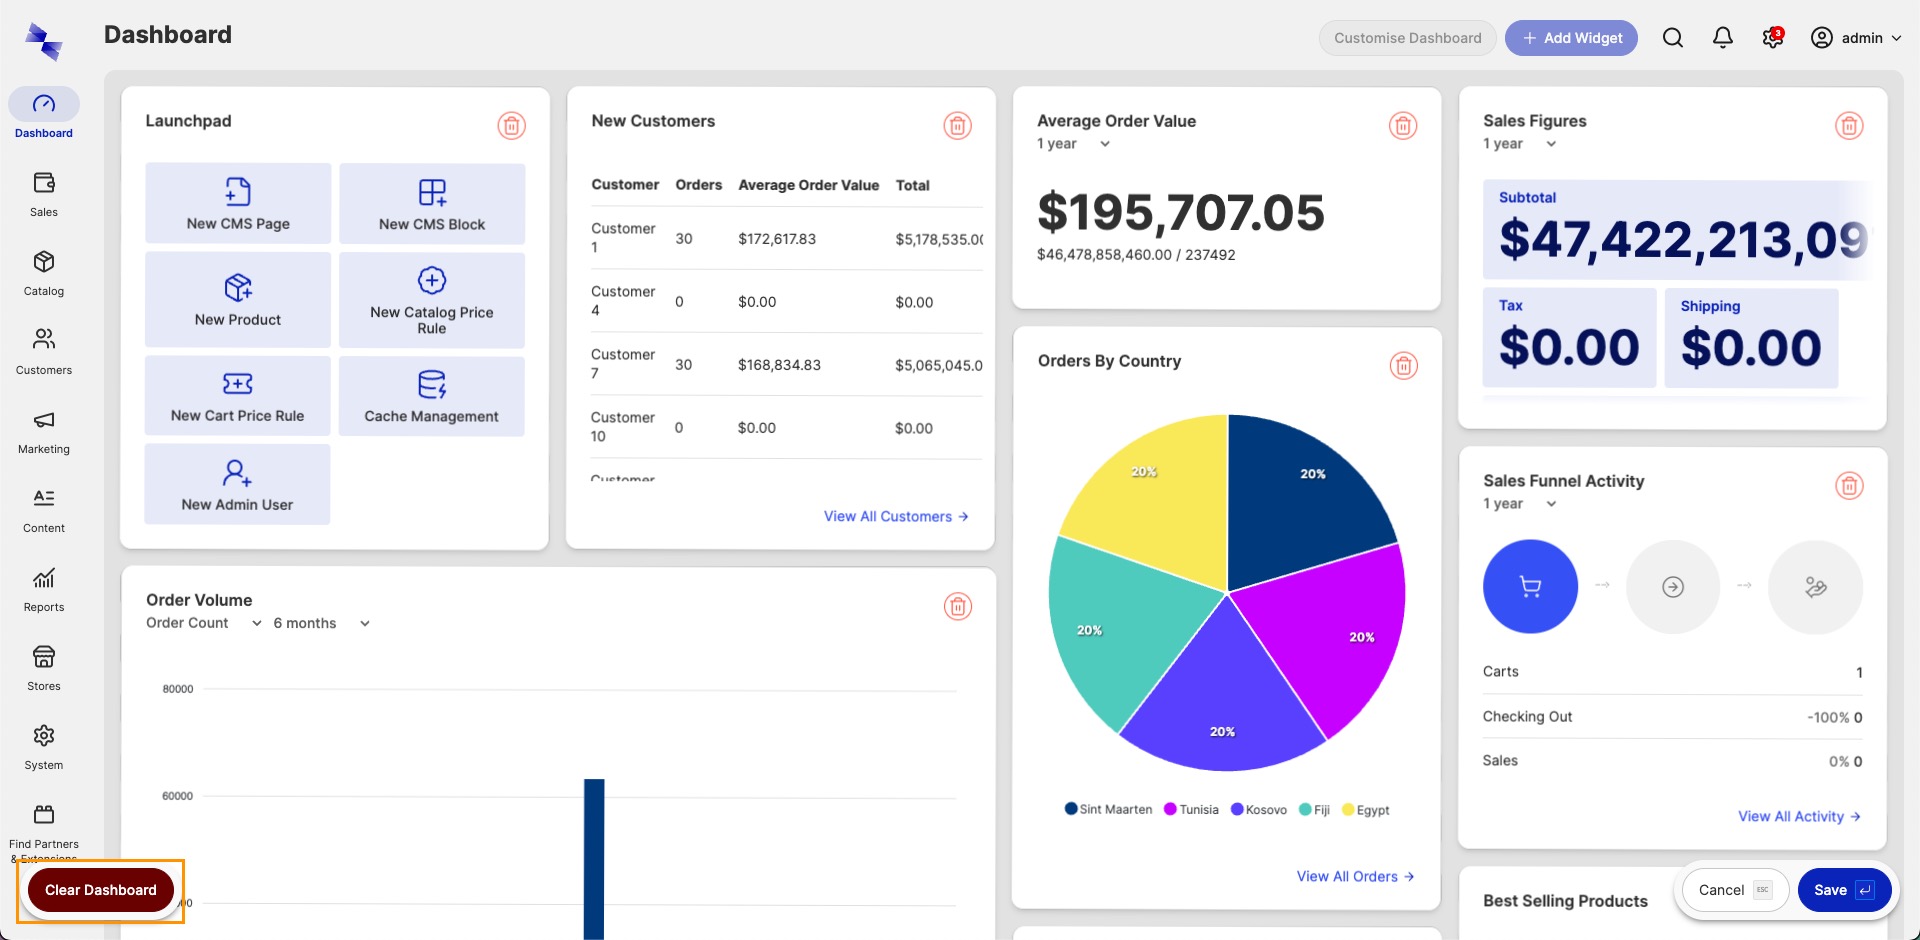
-
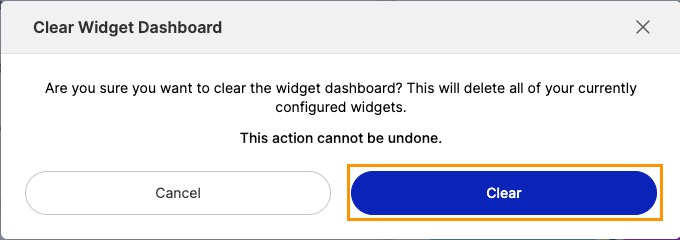
Confirm the deletion of all widgets in the modal that appears.